Shader is a little advanced topic for beginners. But knowing about the basics of shader can help you customize your materials inside your game to a large extent. You don’t need to be an expert in Unity shaders but you should definitely know the basics. Unity has two ways to make custom shaders. One is using a visual scripting tool called shader graph and the other is using code.
We are not going to code anything in this tutorial. We will be using a shader graph. You will learn the following things

- Create a custom shader graph.
- Create a new material with our custom shader graph.
- Assigning custom parameters to our shader graph.
- Create a simple gradient in the shader graph.
Before we start let’s understand some basic things
How Unity renders your game object.
Unity uses the renderer component to render your game object. The renderer in turn takes the data from the game objects material. The material characteristics are defined using shaders in Unity.
It’s something like this
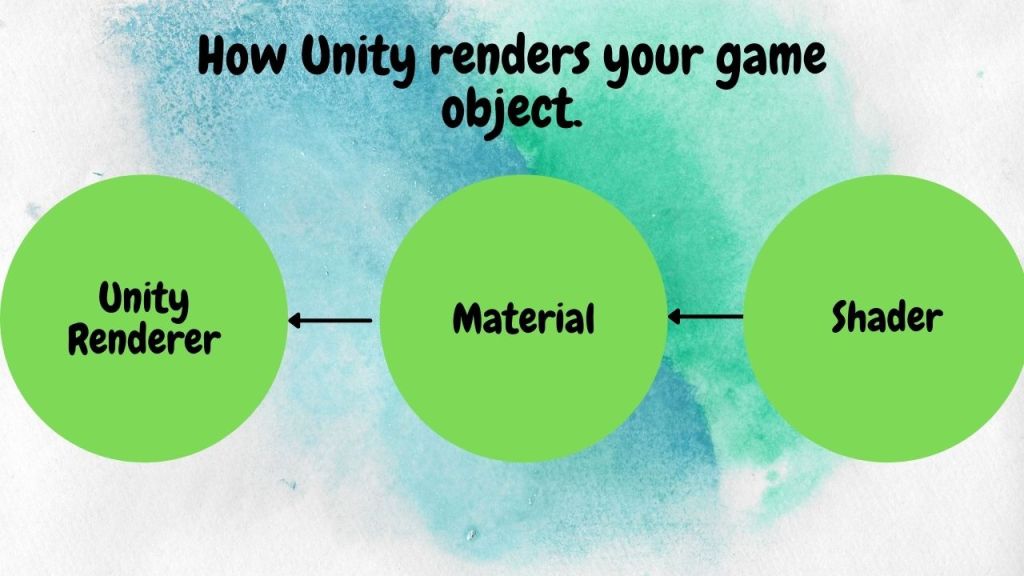
You would have noticed that different material shaders have different properties. Unity has built many shaders to help you out with the basic material rendering requirements. But what if you need a custom material property? This is where you need a custom shader.
Creating a custom shader graph
You need the shader graph package before you can create a custom shader graph.
Open window>Package Manager and search for shader graph and install it.
Go to the project window.
Right click>Create>Shader>Universal Render pipeline>unlit shader.
This menu will differ based on what render pipeline you are using. If you are using the standard render pipeline you might not see these options.
Give the shader a name. Let’s name this shader as Test_shader for the purpose of the tutorial.
Creating material with our custom shader
You cannot assign the shader directly to an object. You need some materials with the newly created shader assigned to it. You can also assign this shader to an already existing custom material in the inspector but you cannot change the shader of a default material.
To create a new custom material with our shader assigned. Select the shader graph and right click>create>material.
Give a name to your material. We will name it Test_material.
Add a new cube to the scene and assign this material to the cube. This way we can see the output of our changes to the shader.
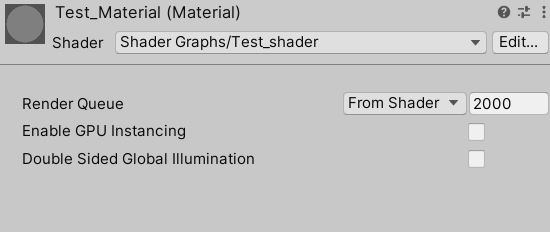
If you check out the material properties in the inspector it will show you some default values that you can adjust.
You can create new properties that you can edit from the inspector window.
Assigning custom shader properties
Just to start with. Let’s add a new color property to our shader.
Double click your shader graph to open up the shader graph editor.

Click on the + sign on the blackboard and select color. Give the parameter a name, I am going to leave it as Color.
Drag and drop the color parameter on to the graph editor. A new node named color is created.
Link the color node to the Base color parameter and save the shader graph.
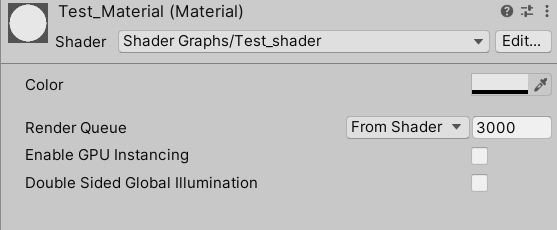
Now you should see a color parameter in the inspector when you select the material. You can change the color of the material shader from the inspector.
You can add as many parameters as you require.
Creating a simple gradient using Shader
To show another example Lets add a gradient to our shader. We should be able to change the color from red to white depending on the gradient parameter.
Let’s create a float called gradient value. This value will be between 0 and 1. The closer it is to zero the redder the material and as it moves away towards 1 the cube color changes to white.
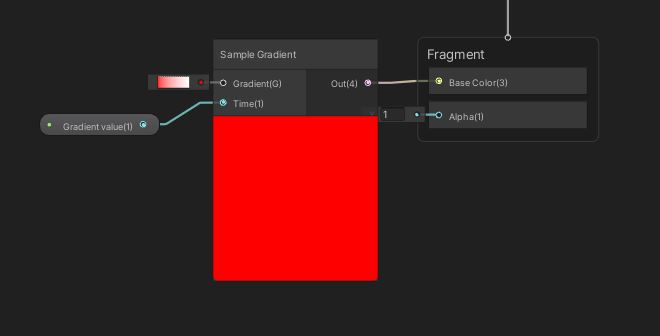
You need to create a gradient node first.
Right click on the shader graph editor and search for gradient. Add the gradient node to the editor. The gradient node will have two parameters. One is Gradient color and the other one is time.
For this tutorial let’s set the start color as red and the end color as white.
Connect the gradient value float we created earlier to the time parameter.
Connect the output of the gradient node to the base color parameter.
Save the asset.
Now you can control the color gradient based on the exposed gradient value. We will see how to use shaders to create custom animation in the next tutorial.