When it comes to making UI look good, masks play an important role. You can create custom shaped UI with the help of masks in Unity. There are two types of UI masks in Unity, the Rect Mask and the Mask. In this tutorial, we will go over the differences between them and how to use them on your UI.
What are UI masks in Unity?
Masks are shaped images that you can used to create a viewport. All elements inside the viewport are visible and elements outside the viewport will be renderer invisible.

Types of Masks
Rect Mask 2D

Rect Mask 2D is a rectangular shaped mask that uses the Rect transform of the Image to calculate the mask dimensions.
Rect Mask 2D can be customized with some basic properties like Padding and Softness. Padding allows you to reduce the width and height of the Rect transform for the viewport. Softness creates a semitransparent edge depending on the X and Y values.
Mask

The Mask component functions in a very similar way to Rect Mask 2D but uses the image sprite to define the mask.
If no image sprite is present then it uses the Rect transform as the mask. You can choose whether the image sprite should be visible in the mask or not. The Mask works based on the image’s alpha channel. So, if you need a custom shaped Mask then you need to make a custom shaped image with transparent background.
Applying UI mask in Unity
To use the Mask component, you need an UI image object. Then you can add a Rect Mask 2D or a Mask component to the UI image. All elements or objects that need to be affected by the Mask should be set as child of the Mask.
Creating the UI content
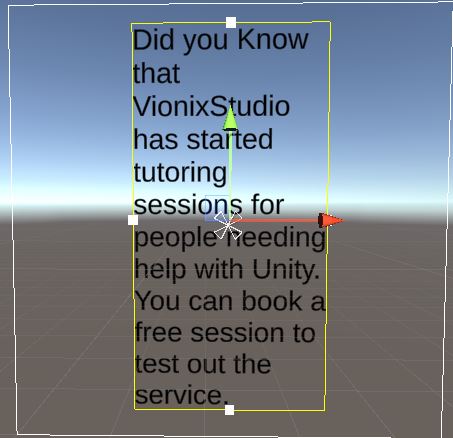
First let’s create a UI text box and fill it up with content. Here is the text box I have created.
Add an UI image object to your scene. Rename it as Mask_Object.
Adding Rect Mask 2D
Add a Rect Mask 2D component to the image object.
Set the padding the softness values of the Rect Mask 2D.
Set the text object as the child of the Mask_Object.
Here is how it should look like now.

Adding Mask Component
I have created a new Image in paint and made the background transparent. You can use any image shape that you like.

Remove the Rect Mask 2D component and add the Mask component.
By default, the Mask component will use the rect transform values.
Add the above image as sprite to the image component. Now your mask should be in the shape of the image.

You can uncheck the show graphics option on the Mask component to make the image invisible. Mask are generally used with scrollable UI. You can come up with different ideas to use masks to make your UI standout.
If you have any other questions regarding masks leave them in the comment box below.