Creating a Radial menu in Unity can be done with simple codes if you have the right segment image. Most of the Tutorials online, use the UI image fill method to create a segment and write tons of code to detect the mouse click on the right segment. This is easier for programmers to understand but non-programmers find it really difficult to follow up. In this tutorial, we are going to use gimp and Unity to make a radial menu with very few lines of code.
YouTube Video Tutorial
Drawing the Picture
Head to paint and draw a circle with thick borders. Make sure the image is square in size. The image I have drawn below is of 600×600 size.


Make Background Transparent
Open the Image is Gimp to remove the background white color.
Use the color selector tool to select the white(background) color. Go to select>Invert. This will select the circle. Cut and paste to a different layer. Delete the layer with white background.
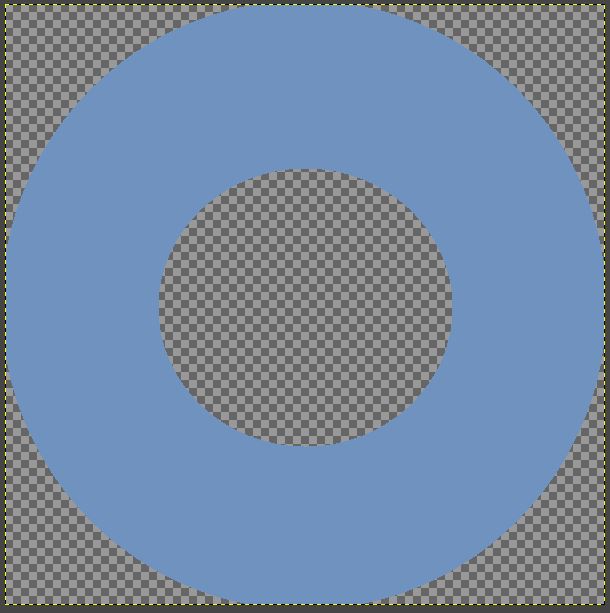
Your image should look like this
Extracting the Segment
Here comes a little bit of mathematics. The total degree of the full image is 360. So, if you want a radial menu with 4 segments then each of the segment should be 360 divided by 4 that is 90 degrees.
We are not going to crop the image as you need to rotate the segment along the center to get the full radial menu.
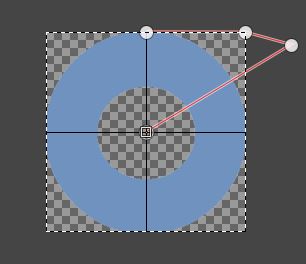
So, we will select our segment and erase the remaining part of the image. You will need grids to help you out. Go to view>show grid to display the grids and go to Image>configure grid and set the size to half of your image size.
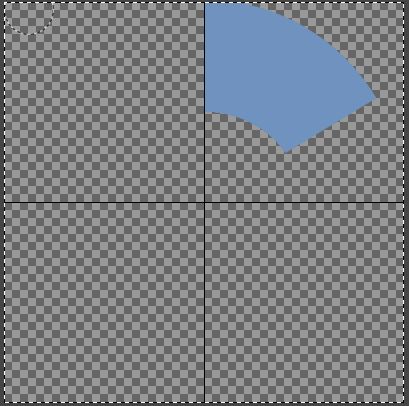
For 2 and 4 segments, you can just use the rectangular selection tool to select the segment part as shown in the image below.
If you need more segments then you need to use paths to select the segment. For this tutorial, let’s say we want to make a radial menu with 6 segments. Each segment in this case will be 60 degrees.
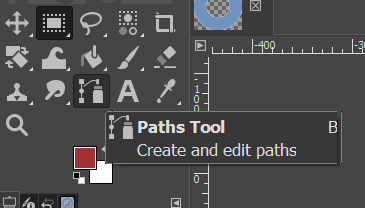
Select the path Tool from toolbox
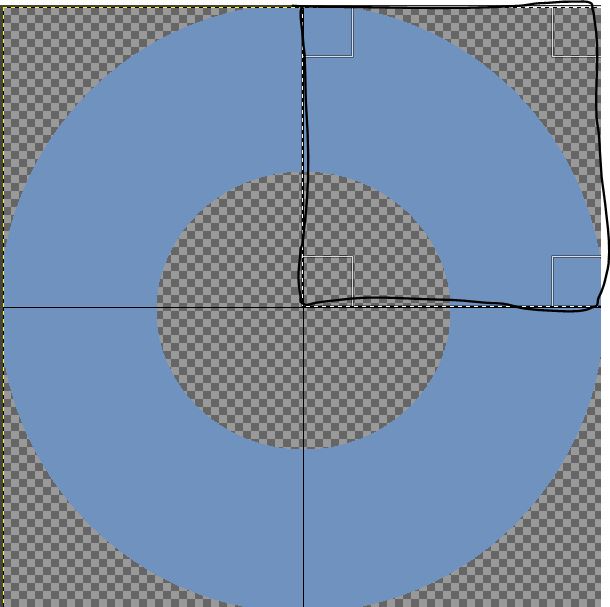
Draw a path from center of the image to the top. Extent it by some length so that will be able to cover the corner of the image.
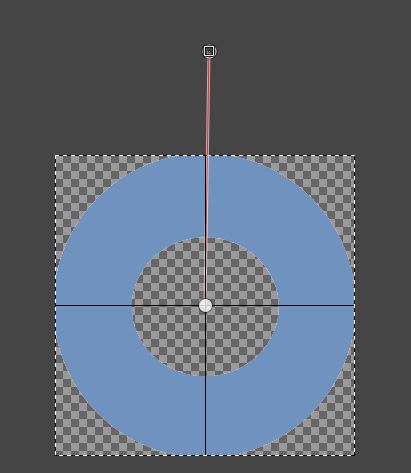
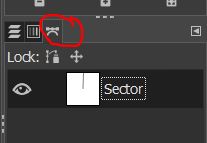
Select the paths tab near layers and give this path a name.
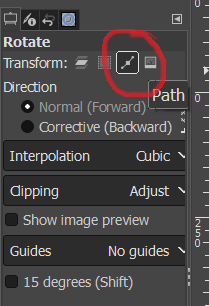
Select the rotate tool from the tool box and in the tool options, select paths.
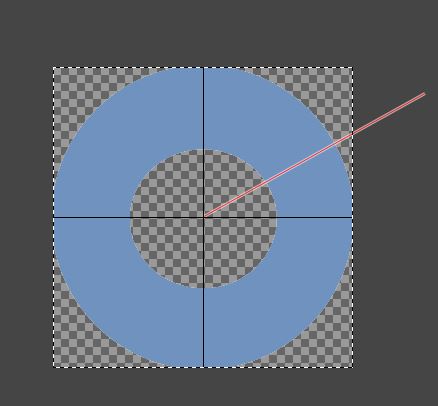
Click on the image and set the center of the rotation to center of the image. Enter 60 as the angle and click rotate. Depending on the gap that you want between each segment you can reduce the angle. Let’s have a 2-degree gap. So, let’s set the angle of rotation to 58 degrees.
Use the path tool to select the corners to the image as shown below. It should be a closed path starting from center and ending at center.
Go to Select>from path. Then Select>Invert. This will select all parts of the image that is not inside the path.
Use the erase tool to erase all parts outside the path. Since the image inside the path is not selected it will not be erased.
Now you will have your segment.
Import your segment image to Unity by dragging and dropping it in the project window. Set the texture type as 2D and UI. Set the Mesh type to Full Rect and in the advanced options check Read/Write. Then click on apply
Go to the hierarchy and add a button to your scene.
Make sure the height and width of the button is set to same size. So that Your Button is square in share. Add the segment image as the Button image.
Set the button highlight color to something else. If you play the game, you will notice that the button gets highlighted even when we are little away from the segment. This is because Unity takes the whole image area into consideration.
We just need to set one small property of the button image to make sure only the non-transparent area is taken into consideration for button click.
This parameter is not exposed, so you need to write a small code to set the value. We need to get the image component from the button and set the “alphaHitTestMinimumThreshold” to greater than 0.
Just add the below code to your button.
using UnityEngine;
using UnityEngine.UI;

public class Raycast_settings : MonoBehaviour
{
    Image img;
    // Start is called before the first frame update
    void Start()
    {
        img=GetComponent<Image>();
        img.alphaHitTestMinimumThreshold=0.5f;

    }


}
Now if we test our button then only the segment area will be interactable.
Now you can add a child image to this button, which will be your icon. Drag and drop your icon sprite to the image UI.
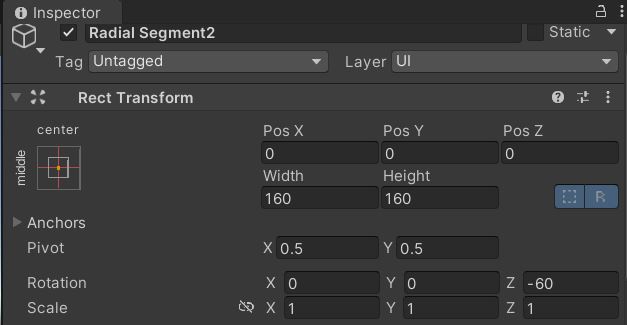
Create Duplicates of the segment 5 times (as we need a total of 6 segments) and rotate them by 60 degrees each time.
Once you have finished rotating the segments and adding the logo images to it. You radial UI should look like this