
You can always take screenshot using the print screen option or 3rd party tools like the snipping tool in Windows. Unity allows you to take screenshots using Code and the Unity recorder. In this tutorial, we will see the following
- Take a screenshot in Unity using code and save it as a PNG file in your assets folder.
- Use the Unity Recorder to take a screenshot.
Screenshot using Code
- Create a new empty game object called “take_screenshot”.
- Add a new script to it and call it “png_save_script”.
We will use two new functions here. The first one is WaitForEndofFrame and the second one is ScreenCapture.CaptureScreenshot. WaitForEndOfFrame is used to wait for all objects in the scene to load before taking the screenshot using the screen capture function.

You need to use a coroutine for this purpose as WaitForEndofFrame returns an IEnumerator. For more information on coroutine, read our post on Unity Coroutine.
You need the namespace using System.Collections for using coroutines.
Here is our coroutine to capture the screen
IEnumerator screenshot()
    {
        yield return new WaitForEndOfFrame();

         ScreenCapture.CaptureScreenshot("test.png");

        }
    }
This will save a PNG file of name test in the project folder. Let’s try and create a new folder and save the file in that.
IEnumerator screenshot()
    {
        yield return new WaitForEndOfFrame();

        if (!System.IO.Directory.Exists("Assets/Animation"))
        {
             System.IO.Directory.CreateDirectory("Assets/Animation");
        }
        ScreenCapture.CaptureScreenshot("Assets/Animation/test.png");


    }
Now that you know how to take a screenshot and save it in a specific folder. The next step is to call the coroutine function.
This part is simple. You just need to type in a single line of code
StartCoroutine("screenshot");We do not want Unity to take screenshots every frame. So, let’s start the coroutine when the enter key is pressed. The below code will take a screenshot when the enter key is pressed.
using UnityEngine;
using System.Collections;

public class png_save_script : MonoBehaviour
{
    IEnumerator screenshot()
    {
        yield return new WaitForEndOfFrame();

        if (!System.IO.Directory.Exists("Assets/Animation"))
        {
             System.IO.Directory.CreateDirectory("Assets/Animation");
        }
        ScreenCapture.CaptureScreenshot("Assets/Animation/test.png");


    }

    // Update is called once per frame
    void Update()
    {
        if(Input.GetKeyDown(KeyCode.Return))
        {
           StartCoroutine("screenshot");
        }

    }
}
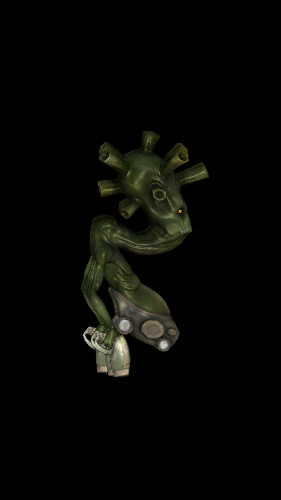
Here is a screenshot of the 3D model we took in Unity.
Disabling UI before taking screenshot
Most games have UI around, when you take the screenshot of the game. If you do not want the UI in the screenshot, you can disable the Canvas and then take the screenshot.
Many tutorials online suggest that you can disable the UI layer using culling mask on the camera. This will not work if the UI canvas is set as Screen Space overlay.
Here is the code to disable the UI canvas before taking the screenshot.
using UnityEngine;
using System.Collections;

public class png_save_script : MonoBehaviour
{

    [SerializeField] GameObject UI_Canvas;


    IEnumerator screenshot()
    {
        Debug.Log("coroutine Called");
        UI_Canvas.SetActive(false);

        yield return new WaitForEndOfFrame();

        if (!System.IO.Directory.Exists("Assets/Animation"))
        {
             System.IO.Directory.CreateDirectory("Assets/Animation");
        }
        ScreenCapture.CaptureScreenshot("Assets/Animation/test.png");
        UI_Canvas.SetActive(true);


    }

    // Update is called once per frame
    void Update()
    {
        if(Input.GetKeyDown(KeyCode.Return))
        {
           StartCoroutine("screenshot");
        }

    }
}
Taking screenshot using Unity recorder
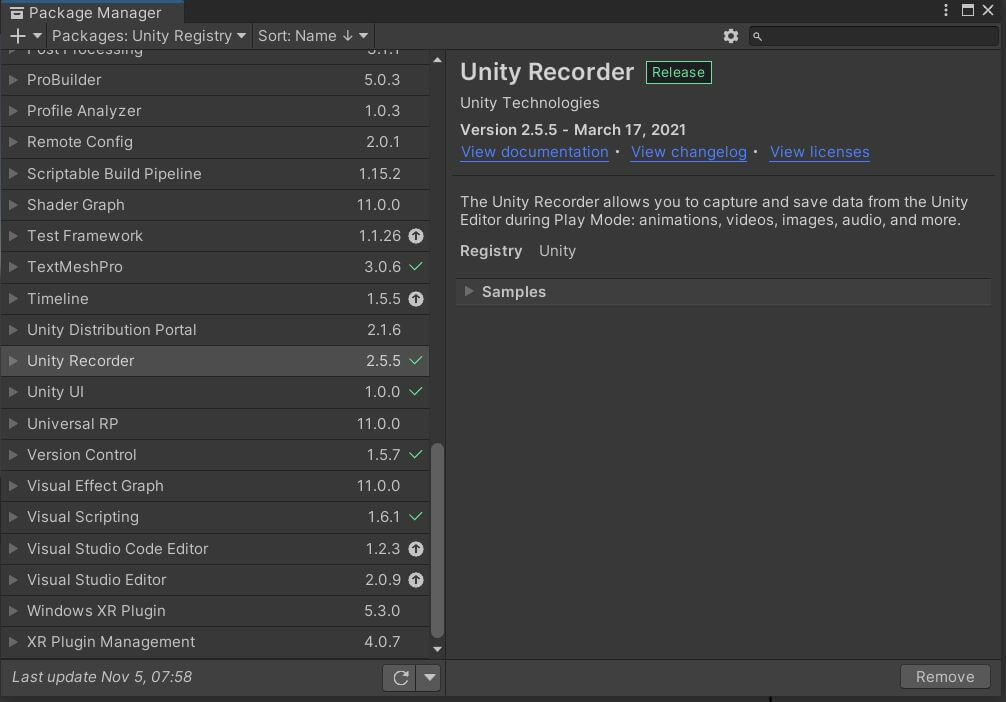
Unity recorder is not added by default to a Unity project. You can add it by going to Windows>PackageManager. In the Unity registry packages, search for recorder and click install.
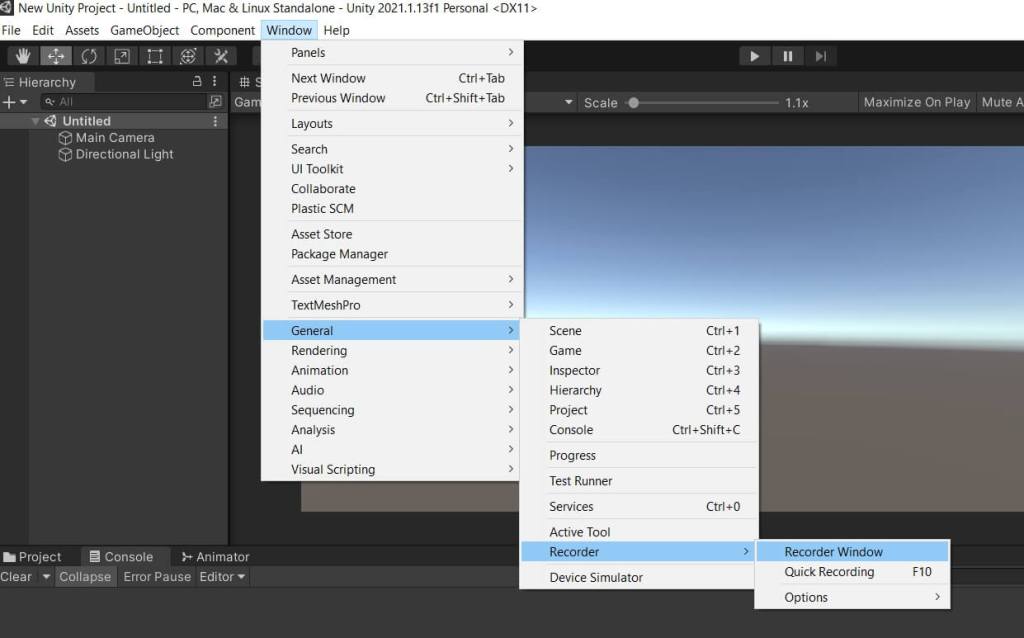
Now go to Window >General> Recorder to open the Unity recorder.
Open the recorder and do the following settings
- Click on Add Recorder and select Image Sequence.
- Set the recording mode to Manual.
- Select source as Game View.
- Set output resolution to your requirement.
- Set File name and path to save the file.
- Click on Start recording to take the screenshot.
The screenshot will be saved in the selected path.

Try the above techniques and let us know if you have any questions.