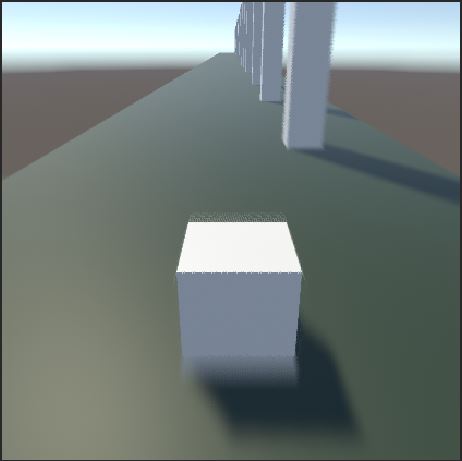
Effects make a game visually appealing and you cannot have a racing game without motion blur. In this tutorial, we will see how to create a motion blur effect in Unity using post processing package.
This tutorial will work only for the built in Render Pipeline. If you are using URP then motion blur will affect only the moving object and not the surrounding. Unity is working on the solution but for the time being this Motion blur asset seems to be the only solution for URP.

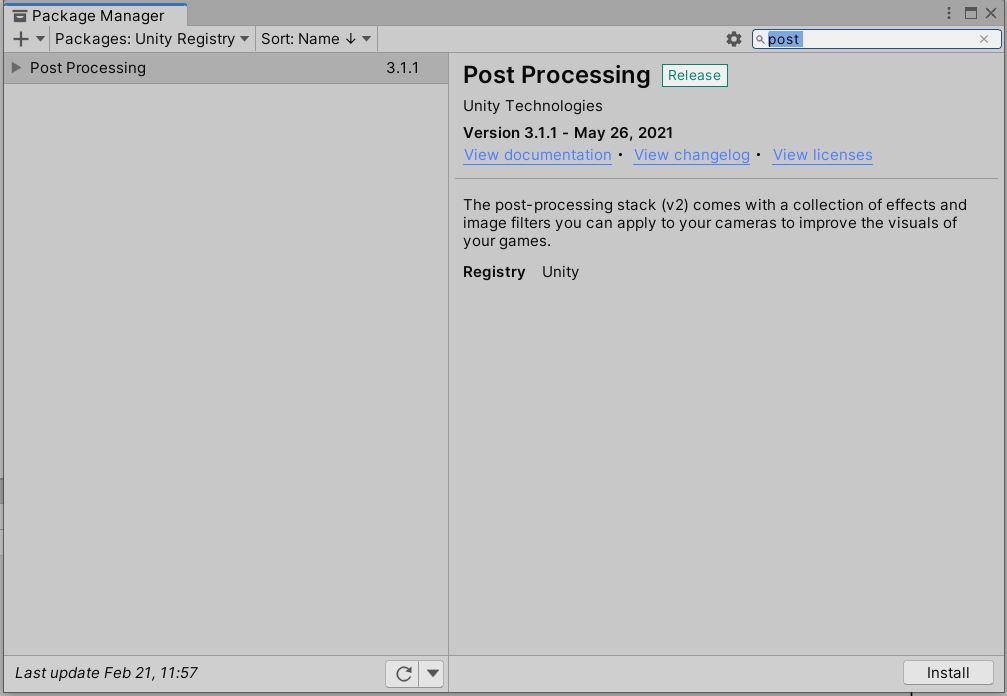
Installing Post Processing package
Go to Window>Package Manager. Select Unity Registry and search for post processing. Install the Post Processing package and close Package Manager.
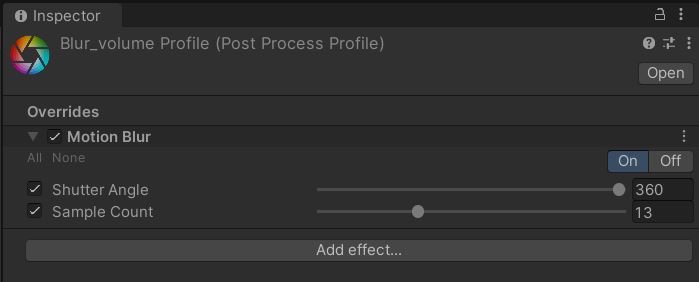
Creating a Post Processing Profile
Go to the project window, right click>create>Post-processing Profile. Give it a name and save it. Select the Post-processing Profile and go to the inspector window.
Click on Add Effect and select motion blur from the list. Click On to turn on the effect.
Creating a Post processing layer and volume
Create an empty game object as child of the moving object. For example, if you have a car in the scene, then create an empty object as child of the car. Let’s name it Blur Volume.
- Click on Add Component and add a box collider.
- Set the collider as Trigger and scale it to the size of the volume up to which you want the blur to reach.
- Next click on Add Component and add a Post-process Volume.
- Uncheck IsGlobal.
- Set blend distance to 5.
- Set the Post-processing Profile that we created in the previous step.
- Create a new layer. Let’s call it Effects.
- Set this game object layer to Effects.
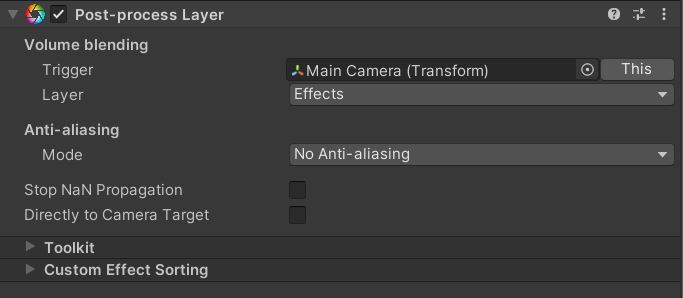
For the camera to be able to see the effect, we need to add a Post-process Layer to the camera.
- Select the Main camera. Make sure that the camera follows the player.
- Click on Add Component and Select Post-process layer.
- Set the Layer to Effects
Play the game and move the player to see the blur effect. Try moving the player faster if you don’t see the blur effect.