Unity remote is a very handy tool to test your android games without building them every time. But you need to setup the system properly to make it work. In this article, we will see the steps that you need to follow to set up Unity Remote 5.
Step1: Setting up your Phone
Go to Google Play store and install Unity Remote 5.

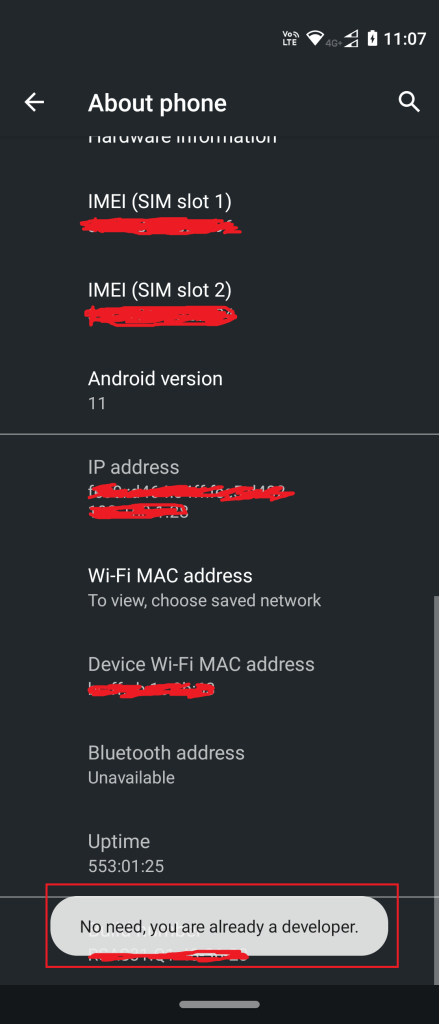
Then go your phone settings and find the build number. You can find it using the search bar on the settings menu or scroll down to about phone settings. This may vary based on your device.
Tap the build number 7 times or until you get the notification that “You are now a developer”.
Now you should be able to find a setting called Developer Options. Go inside it and enable “USB Debugging”.
Now connect your phone to your laptop or desktop using a USB cable.
Once connected, you will see a USB option in the notification area, set the option to “File Transfer”. You will get a prompt to allow your computer to USB debug. Allow it.
Step 2: Setting up Unity and Android Build support
This step is only required if you have not added Android build support during installation.
Open up Unity hub and go to the installs tab. Select your Unity version and click on the three dots (or gear icon). Select add modules from the options.
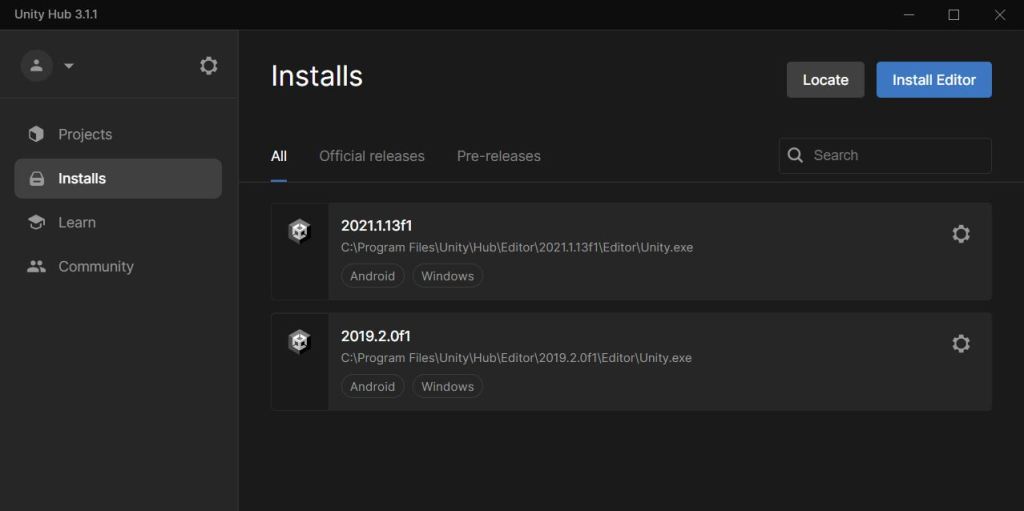
In the modules options, select Android build support and click install. Make sure you have a good internet connection as Android SDK and JDK are large files. It will take some time to install the required components.

Step3: Configuring Unity Editor
Open up your Unity project and go to File>Build settings. Make sure your target platform is set to Android, if not, set it to Android. Switching platform will restart your Unity editor.
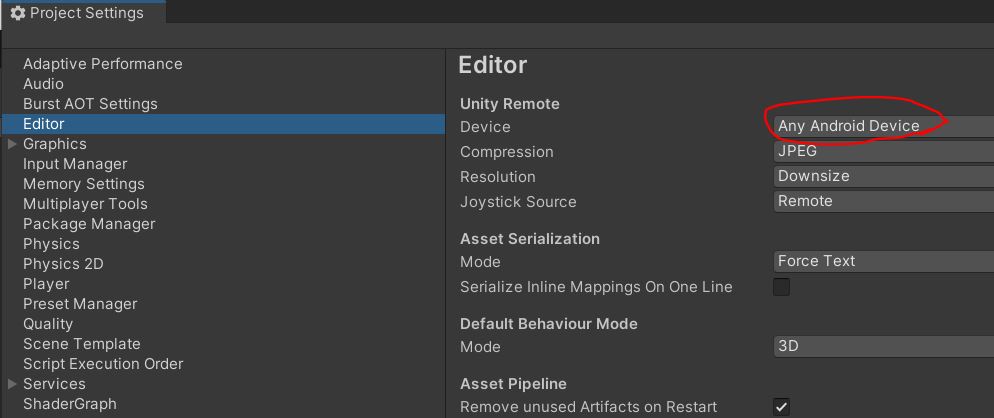
Next go to Edit>Project settings. Select the Editor tab and set the Device option to Any Android Device.
Now close your Unity Editor. Lauch Unity remote on your phone and then start the Unity editor. If you hit play on the Unity editor, you should see the game window on your phone.
Unity Remote Not working
Here are the common reasons why your Unity remote is not working
- Android SDK or JDK is not installed properly. Go to Edit>preferences on the Unity Editor and select external tools. Make sure there are no errors near the SDK and JDK options.
- Build platform is not set to Android.
- USB debugging is not enabled on phone or USB setting not set to file transfer.
- Faulty USB cable.
If all the settings are already done then try restarting your phone and Unity editor. Also launch the Unity remote and connect the phone in USB debugging before starting the Unity editor.
If you having any other issues, then feel free to comment below. We will try our best to solve the issue.