Unity editor is the first interface you will see after starting a new project. All the game development except scripting and asset development happens in Unity editor. Knowing your way around the editor, is very crucial to getting started with Unity.
This tutorial is aimed toward people who are using the Unity editor for the first time. If you are one of them, then this post will help you understand the basics of the editor window. Let’s get started.

The default Editor view
When you start a new project in Unity you will see the default layout of the editor window.

- A is the menu bar of your Unity Window. All your editor menu components are present here.
- B is the Tool bar. You can use it to move objects in your scene view. This tool bar may be vertical in the newer versions of Unity Editor.
- C is the gameplay controls. You can play, pause and stop your game from here.
- D is the Hierarchy window. All your scene components are present in this window.
- E is the Inspector Window. Features of the selected object is displayed here.
- F is the Project window. All the files related to your game in stored here.
- G is the Console Window. All your errors and logs will appear here.
- H is your Scene and game tab. You can switch between the scene and game view here.
Basic concept of game making in Unity
If you are seeing a game engine for the first time, it will be really hard to understand what is going on. You need to know the basic terminologies to get going.
What is a scene in Unity?
Scene is the place where you add all your gameplay objects. For example, if you want to make a game like Temple run, you will add your character, your environment and align them in the scene view.
By default, a new scene in Unity will have a direction light and a camera added. You can add more objects as required to your scene. A game can have more than one scene.
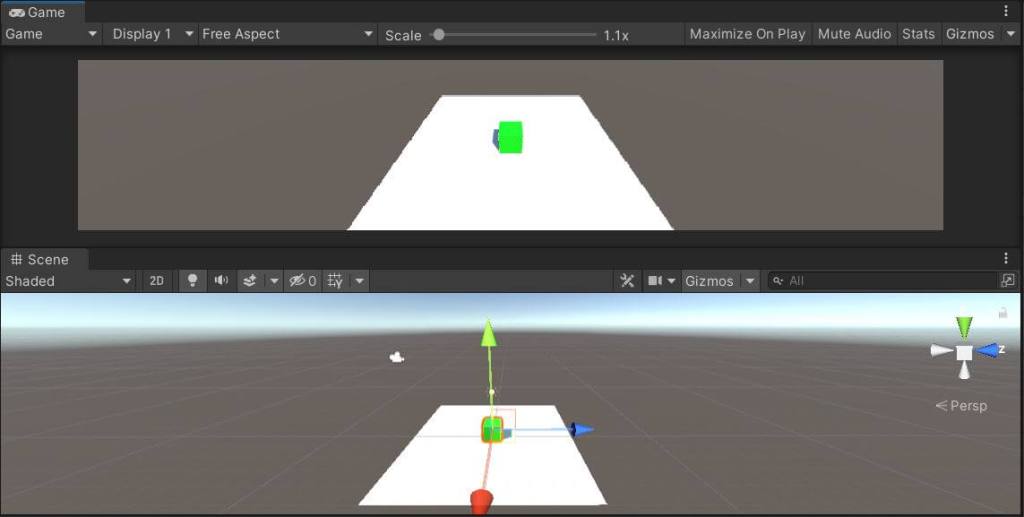
What is the difference between scene view and game view?
The scene view is basically all the component in that particular scene of your game. In the game view, you will see the scene through the eyes of the camera and the same view will get reflected in the target device after the game is built. The game view depends on the camera settings.
Where do I add my Objects in the scene?
Any object that you want in your scene, needs to be added to the Hierarchy window. There are three ways to do it.
- First way is to just drag and drop your object into the scene view and it will get added.
- The second way is to drag and drop object to the Hierarchy window.
- The third way is used when you have to add an inbuilt object like default Unity cube. To do this, click on the + sign on the hierarchy window and select the object from the drop down.
You can also make an object, a child of another object by dragging and dropping the object on to the parent.
Understanding Project and Inspector Window
Project Window
Project window is the place where you save all your game assets like 3D models, textures, materials, environments etc. You can add any assets to the project window by just dragging and dropping the assets from your windows folder on to the project window.

You can also add new game assets using the + sign on the left top corner of the project window.
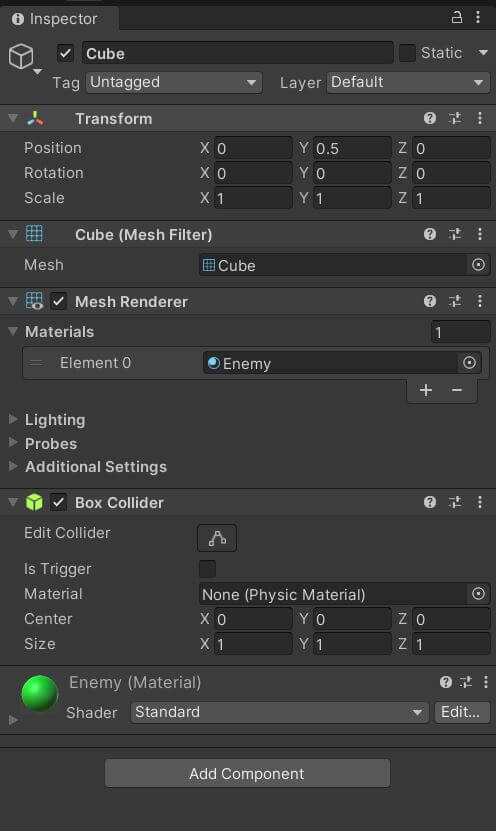
Inspector window
If you want to change the characteristics of any object in your game you need to use the inspector window. It displays the transform, components and scripts attached to an object. Unity works on a component-based system. You can add more components to any object using the add component button in the inspector window.
Unity editor tips
- You can quickly zoom in on any object in your scene view by selecting the object in the hierarchy and pressing the F key.
- You can switch to other pre-defined layout using the layout drop down on the right top corner of the Unity editor. You can also save a custom layout as per your requirement.
- You can change the editor color in play mode by going to Edit>Preferences>Colors>Playmode tint.
Now that you know the basics of Unity editor, we can start with scripting. But if you have installed VScode, then we need to step up autocomplete in VScode.