
Visual effects are what makes a game appealing to most gamers. And rain is one of the most commonly used effects. In this tutorial, we will see how to create rain in Unity, with particle system.
Setting Up the scene
Let’s add a plane to the scene on which the rain will fall.

- Click on the + sign on the hierarchy window and navigate to 3D object> Plane.
- Set the transform of the plane to (0,0,0).
- Let’s create a new material and set the color to black.
- Assign the black material to the plane.
Next, lets add a particle system to the scene.
- Click on the + sign on the hierarchy window and navigate to Effects> Particle System.
- Set the particle system position to 0,10,0.
- Rename the particle system to Rain.
- In the inspector window, click on the three dots on the particle system component and select reset.
Here is how the scene should look like.
Setting up the particle system to look like rain
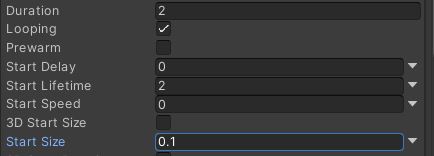
Set the following parameter in the particle system.
- Duration-2 seconds
- Start Delay-0
- Start Lifetime-2
- Start Speed-0
- Start Size-0.1
Go to the shape properties of the particle system and set the Shape to box. Set the scale of the box to 10 in X and Z axes.

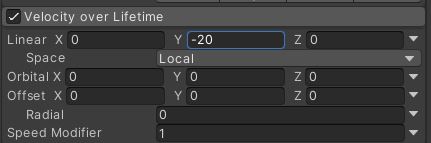
Then check, velocity over lifetime, and set the Y velocity to -20. This will make the particle fall downwards.
Rain drops are elongated when they fall down, due to gravity. To simulate this effect, let’s set the Render Mode to Stretched Billboard and the length scale to 10.

The rain particle now passes through the plane. We want it to collide with the plane and get destroyed. So, enable collision by checking the collision property and set the type to world.
Now the rain particle will start bouncing on the plane. So, under collision, set the bounce to 0 and Lifetime loss to 1. This will stop the rain particles from bouncing and destroy them on collision.

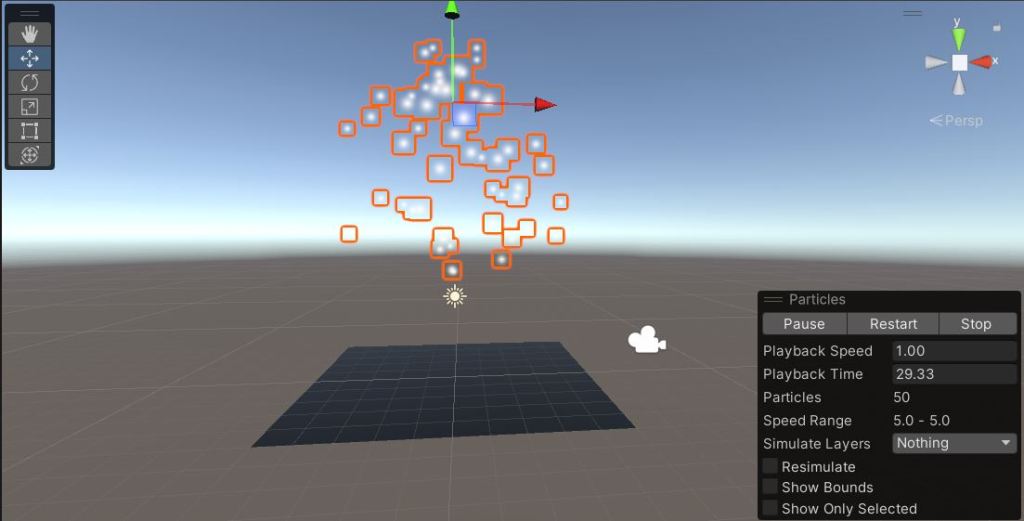
Now open the emission setting and set the Rate Over time to 100. This is how you scene should look like now.
Sub-emitter for the splash effect
The above settings will make your particle effect look like rain. But there is a minor detail missing, the splash effect. When the rain drop hits the ground, it splashed into small droplets. To do that, we will use sub-emitters.
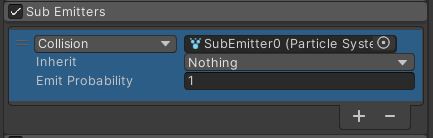
Check the sub-emitter option in particle system. Select the type as collision, and click on the + sign near the type, to add a sub emitter particle system. Now the Rain game object in the hierarchy, should have a child object. Let’s rename it to splash.
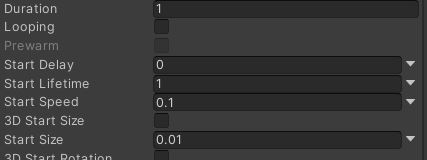
Set the following properties for the sub-emitter.
- Duration-1 second
- Uncheck looping
- Start lifetime-1 second
- Start speed-0.1
- Start size-0.01
The sub emitter’s emission setting is set to burst by default. Set the burst count to 10.

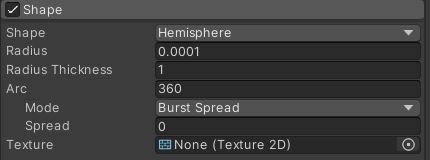
Set the shape to hemisphere and set the radius of the hemisphere to 0.0001.
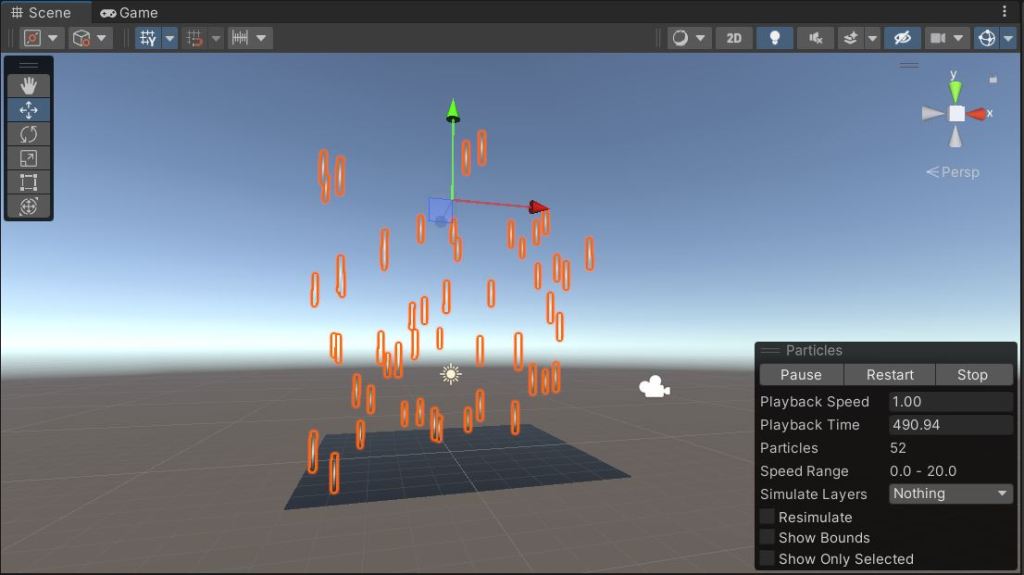
Now your rain effect is ready and here is how it should look like.
To further fine tune this, you can add colors and alpha value to the particle system. That will totally depend on how you want the rain in your game.
Try to create new rain by playing around with different settings. If you have any other questions, feel free to leave them in the comment box below. You can download the above scene from itch for free.