
Have you ever created a template for a brush and used it to paint inside a photo editor? That’s a very useful tool to paint patterns. A game’s level consists of patterns like this and we have to place things brick by brick to create it. But, in case of 2D, Unity has a tool called tilemap, which allows you to paint the level with tiles.
A tilemap is a grid-based system used to create 2D levels in Unity by painting using tiles. This approach simplifies level design, streamlines iteration, and enhances performance. In this article, we’ll explore the basics of tilemaps in Unity, including creating tilemaps, using the Tile Palette, adding custom tiles, employing Rule Tiles, and incorporating the Tilemap Collider 2D component.

Creating a Tilemap in Unity
if you have created a new 2D project, then the tilemap package is added by default. Otherwise, you have to use the package manager to add the 2D tilemap editor and 2D tilemap extras (optional) package to your project.
To create a Tilemap game object, follow these steps:
- Open your Unity project and go to the Hierarchy window.
- Select GameObject from the top menu, then navigate to 2D Object, and choose Tilemap>Rectangular.
You can select any shape based on your requirement. For the purpose of this tutorial, let’s go with rectangle.
This will create a new game object in the scene with a Grid component and a child tilemap component. The Grid helps to align and manage the tilemap while the Tilemap component handles the actual painting of tiles.

Think of it as similar to UI in Unity. Whenever you add a UI component, it is added as a child of canvas. Similarly, when you add a tilemap, it is added as a child of grid.
You can add multiple tilemaps in the similar way and use sorting layers to stack them over each other.
Using the Tile Palette
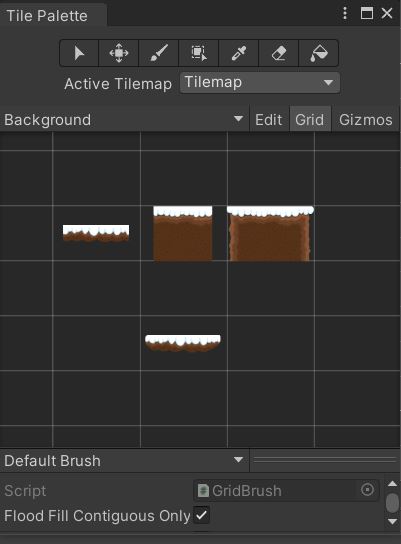
Similar to color palettes in photo editors, here we have tile palette. You can use a tile from the tile palette to paint on the tilemap. To create a tile palette, open the tile palette window, go to Window > 2D > Tile Palette.

Click on Create New Palette, set a name, grid shape and cell size. Save the tile pallet inside the assets folder.
Now you have an empty palette. To add tiles inside the palette, drag and drop any 2D sprite to the palette. This will prompt you to give a name for the tile and a location to save the tile. Give it a name and save the tile asset. For example, I have added some platform sprites as tiles.
Adding sprite sheets as tiles
In most cases a single sprite is larger than the tile size. So, you need to make them into multiple tiles.
For example, take the sprites in the image below.
While importing the sprites onto Unity, you will have an option to manually slice the sprites. To use these sprites as tiles, follow the steps below
- Set the sprite sheet’s texture type as Sprite (2D and UI).
- If it’s a pixel art, set the filter type to Point (no filter).
- Click on Sprite Editor and select slice.
- Set the type to Grid by Cell Size.
- Set the Pixel Size to what you have set in the palette grid.
- Click on Slice.
Note: Now while adding the sprites to the pallet, select the whole sprite sheet and drop it inside the palette. If you select the individual sliced pieces, then the pallet will not retain the shape of the object.
Drawing on the tilemap
To draw on the tilemap, click on the brush sign on the tile palette window and select the tilemap to paint on. You can select either a single tile or a set of tiles inside the palette and start painting on the tilemap.
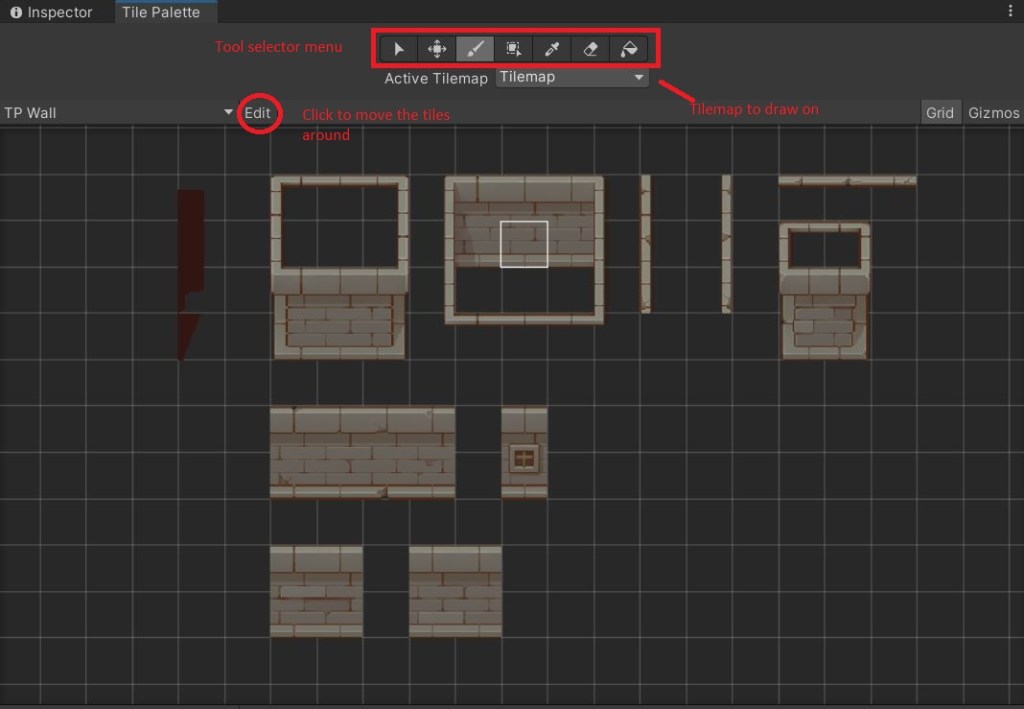
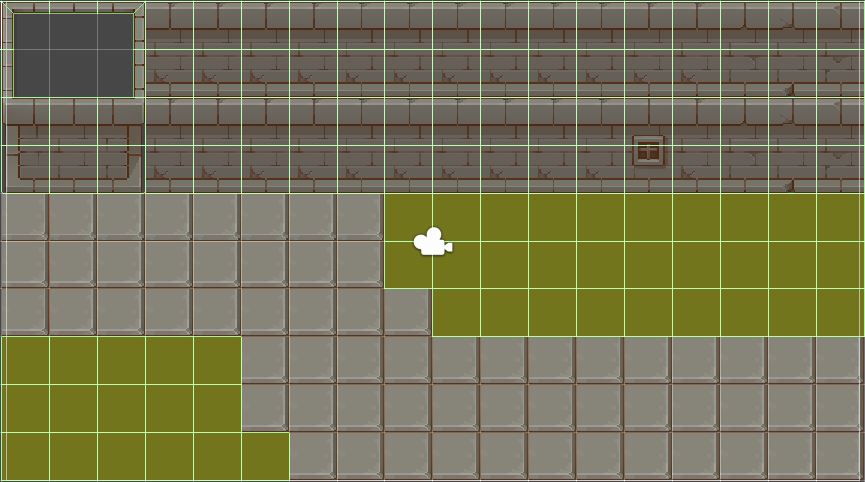
Now let your brush loose and paint your creative 2D level using these tiles.
Using Colliders in Tilemap
To add a Collider to your tilemap, just select the tilemap and click on Add component and add a Tilemap Collider 2D.
By default, a tilemap collider adds a collider to every tile in the tilemap. So, it’s a good practice to have all the tiles with colliders on a separate tilemap.
These individual colliders on every tile are not very performance efficient. Unity allows us to use a composite collider to combine these into single shapes. To add a composite collider, follow the steps below
- Select the tilemap with the tilemap collider and click on add component.
- Add a composite collider 2d. This will add a RIgidbody2D and a Composite collider 2D to the tilemap.
- Set the body type to static under Rigidbody2D and check used by Composite inside the tilemap collider.
Now your collider should look like this

This concludes the basics of tilemap in Unity. Try it out and if you have any other questions, feel free to leave a comment below.