If you have installed Visual studio community along with Unity editor using Unity Hub then you can see that your Visual studio editor has autocomplete/IntelliSence enabled by default. That is, you will be able to see all Unity functions as you type. But if you have installed Visual studio code then you might not see the autocomplete in the editor. So, in this section of learning Unity, we will see how to set up autocomplete in VScode.
The solution varies based on the Unity version. So if you are using Unity 2020 or older, use the first method and for 2021 or newer, use the 2nd solution.

VScode is both language and framework independent. You will need to install the required dependencies to solve this problem.

Step by step procedure to enable IntelliSence in VScode
For Unity 2020 or older
- Close both Unity and VScode.
- If you are on Windows, Download and install .NET framework 4.7.1 Developer Pack. If you are on Mac, then download .NET SDK and mono stable release.
- Open Unity.
- Go to Edit>Preferences>External tools.
- Select Visual studio code as your external script editor.
- In the external script editor Args box enter “$(ProjectPath)” -g “$(File)”:$(Line):$(Column)
- Click on regenerate project files.
- Go to Window>Package Manager. Under Unity registry, find Visual Studio code editor and install the package if not installed already.
- Open Visual studio code.
- Install C# for Visual Studio Code (powered by OmniSharp) extension.
- Close VScode.
- Open VScode from Unity. Now IntelliSence should work and syntax should autocomplete.

Now we are ready to get started with scripting in Unity.
For Unity 2021 or newer
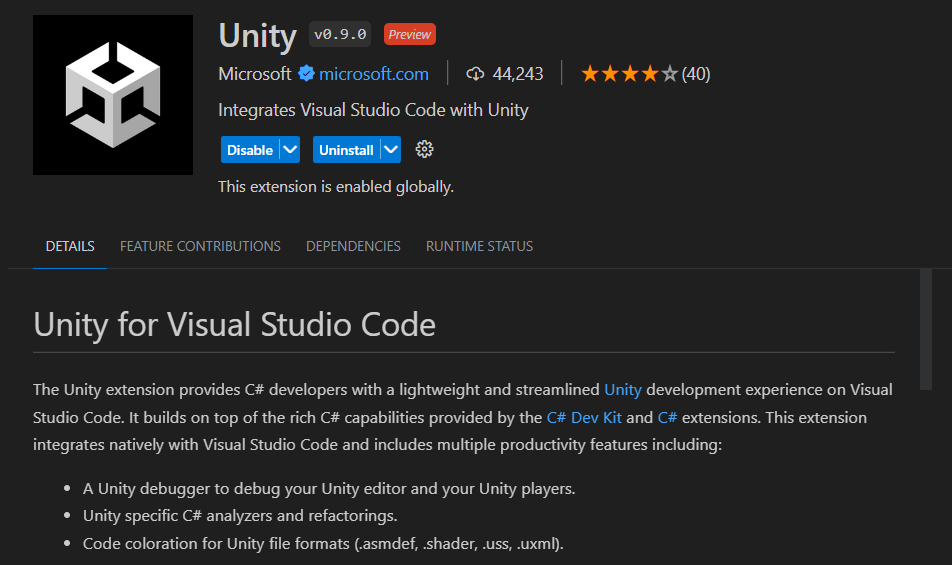
Microsoft has launched a new extension for VScode to work with Unity 2021 and newer. Use the following steps to make the extension work with Unity.
Open Vscode and add the C# dev kit extension and Unity extension(by Microsoft).
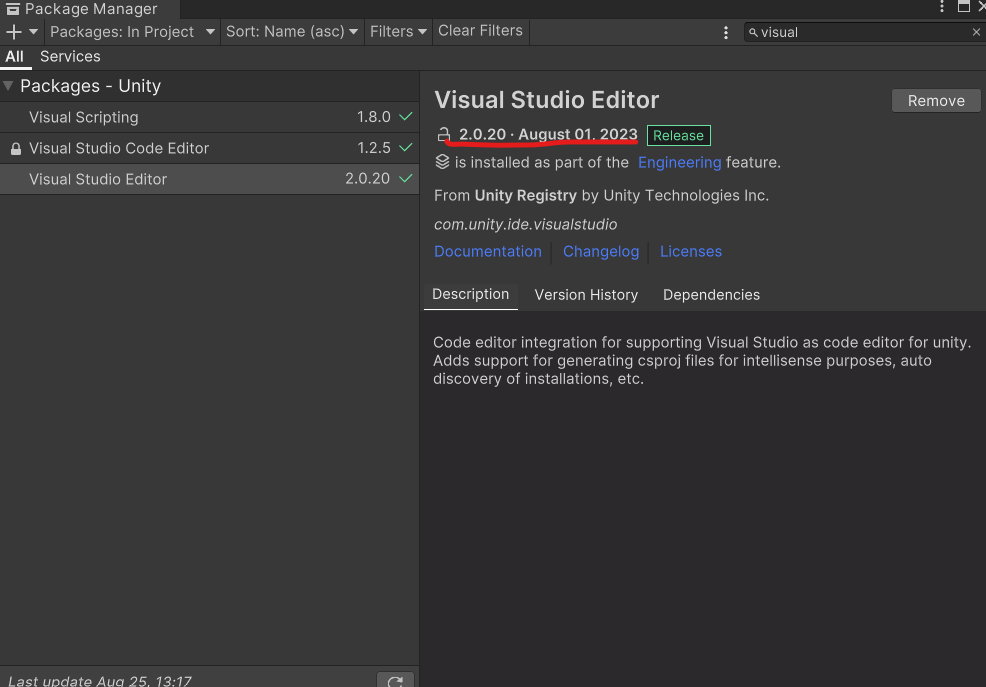
Close VScode and open Unity editor. Go to Window>Package Manager.
Search for Visual Studio Editor package(not Visual Studio Code package)
It will be pre-installed but you have to update it to version 2.0.20.
After Updating, close package manager and go to Edit>Preferences>External Tools.
Select Visual Studio Code as your script editor.
Restart Unity and now if you open any Unity script in VScode, you will have auto complete activated.
Omg you, dear author, saved my (student) life. Thanks ❤
Thank you so much you saved a lot of time of my life 😀