In the majority of games, one of the primary actions is moving objects. Whether it involves maneuvering our player character, controlling the enemy, or manipulating the environment, the movement mechanics play a crucial role in shaping the gameplay experience.
So, for our next lesson in learning Unity let’s move the player using script. In this tutorial, we will look different ways to move a player.
How to move an object to a position
There are multiple ways to move an object from one position to another. We will see all of them one by one. If you are building a first-person shooter game then you should use the character controller for player movement.
Instantly changing position
You can change the position of a game object instantly using the Unity transform function. All you need to do is to set the new position as the object’s position. In the code below, we are using a simple timer to wait for some time before changing position.
All the code related to movement, are inside the Update method as we need to continuously move the object, till the destination is reached.
Create a new script and copy the following code to the object you want to move. Remember to keep the script name and the class name same.
Script to set the object position to target position after 2 seconds.
using UnityEngine;
public class move_player : MonoBehaviour
{
    Vector3 newpos= new Vector3(-4.0f,0.5f,-4.0f);
    float timer=2;
    // Update is called once per frame
    void Update()
    {
        timer-=Time.deltaTime;
        if(timer<0)
        {
            transform.position=newpos;
        }

    }
}
Output
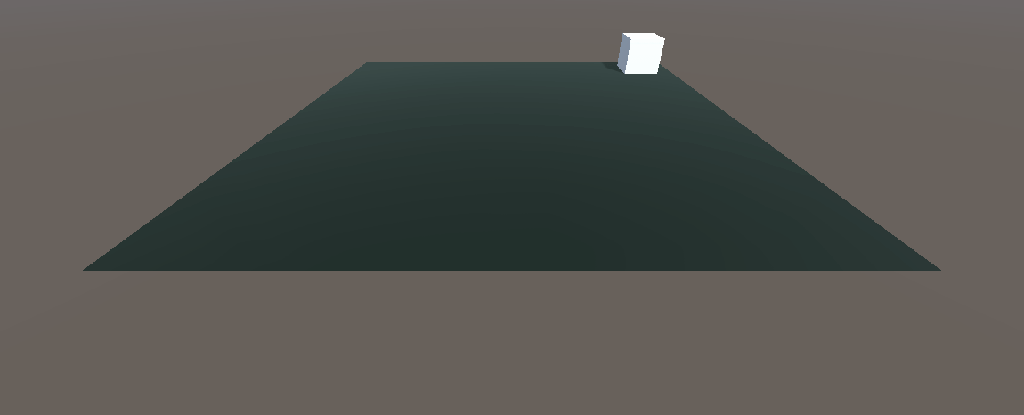
Slowly move to the new position in steps
To move an object slowly to a new position you can either use Unity lerp or use Unity Vector3.moveTowards. We are using steps of 0.1 in the sample code below.
Code to move the object from current position to target position in steps of 0.1 units.
using UnityEngine;
public class move_player : MonoBehaviour
{
    Vector3 newpos= new Vector3(-4.0f,0.5f,-4.0f);
    // Update is called once per frame
    void Update()
    {
       transform.position=Vector3.MoveTowards(transform.position,newpos,0.1f);

    }
}
Output
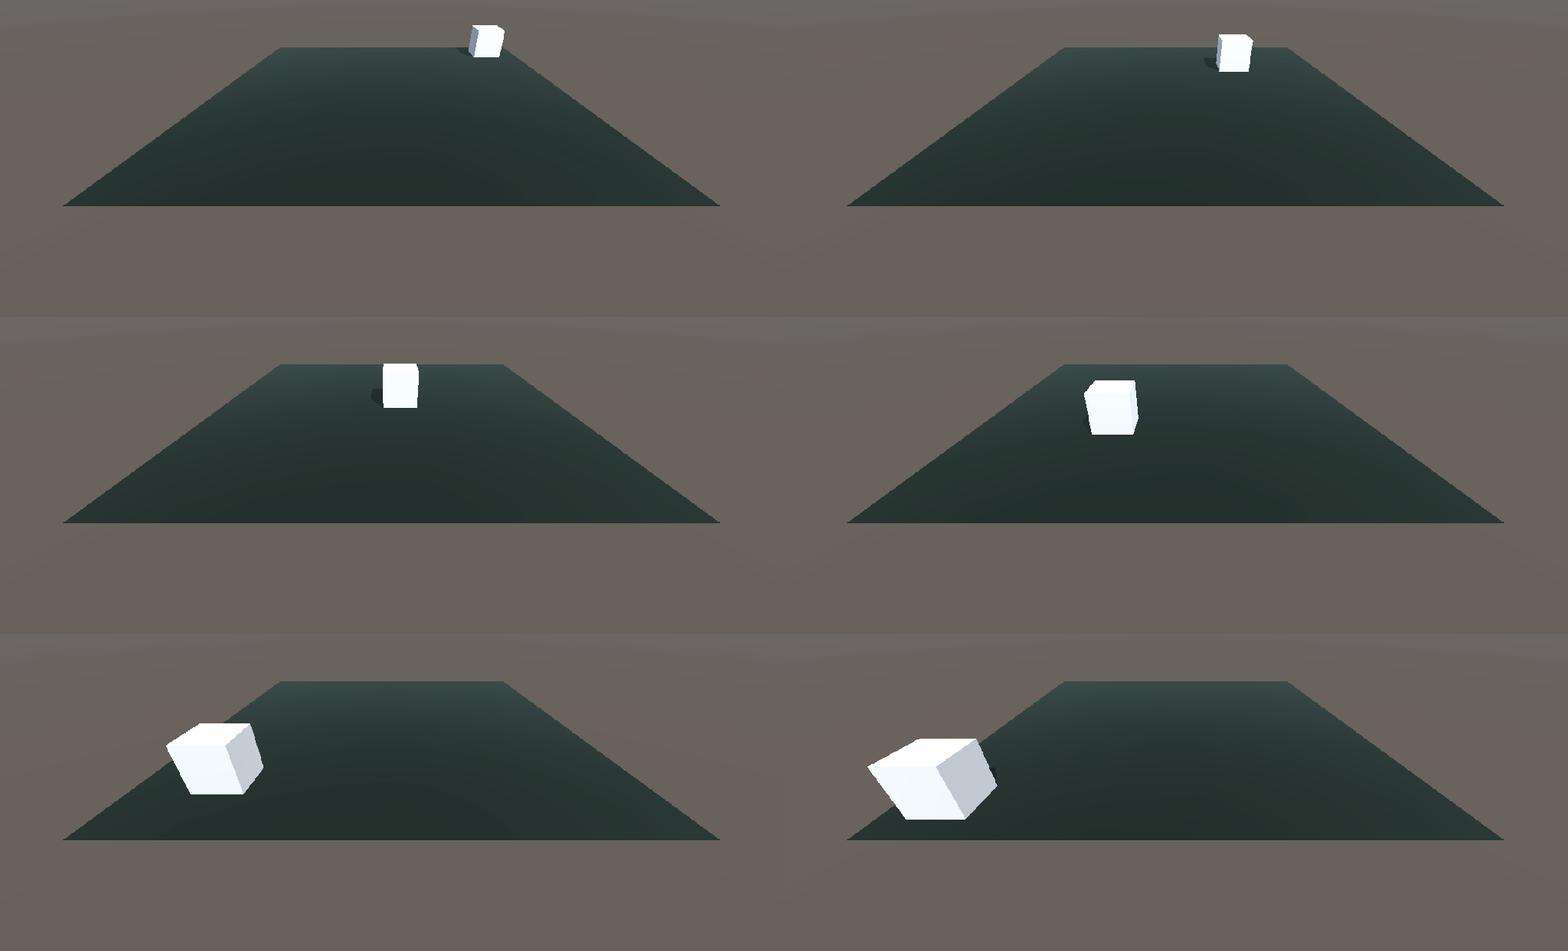
Slowly moving to new position over time
You can use Vector3.SmoothDamp to move an object overtime. It takes the current position as the first input, target as the second input, current velocity as third input and the time to reach target as the fourth input.
Sample code to move the object from standstill to target position in 2 seconds.
using UnityEngine;
public class move_player : MonoBehaviour
{
    Vector3 newpos= new Vector3(-4.0f,0.5f,-4.0f);
    Vector3 velocity=Vector3.zero;  //zero initial velocity

    void Update()
    {
       transform.position=Vector3.SmoothDamp(transform.position,newpos,ref velocity,2.0f);
    }
}
Output
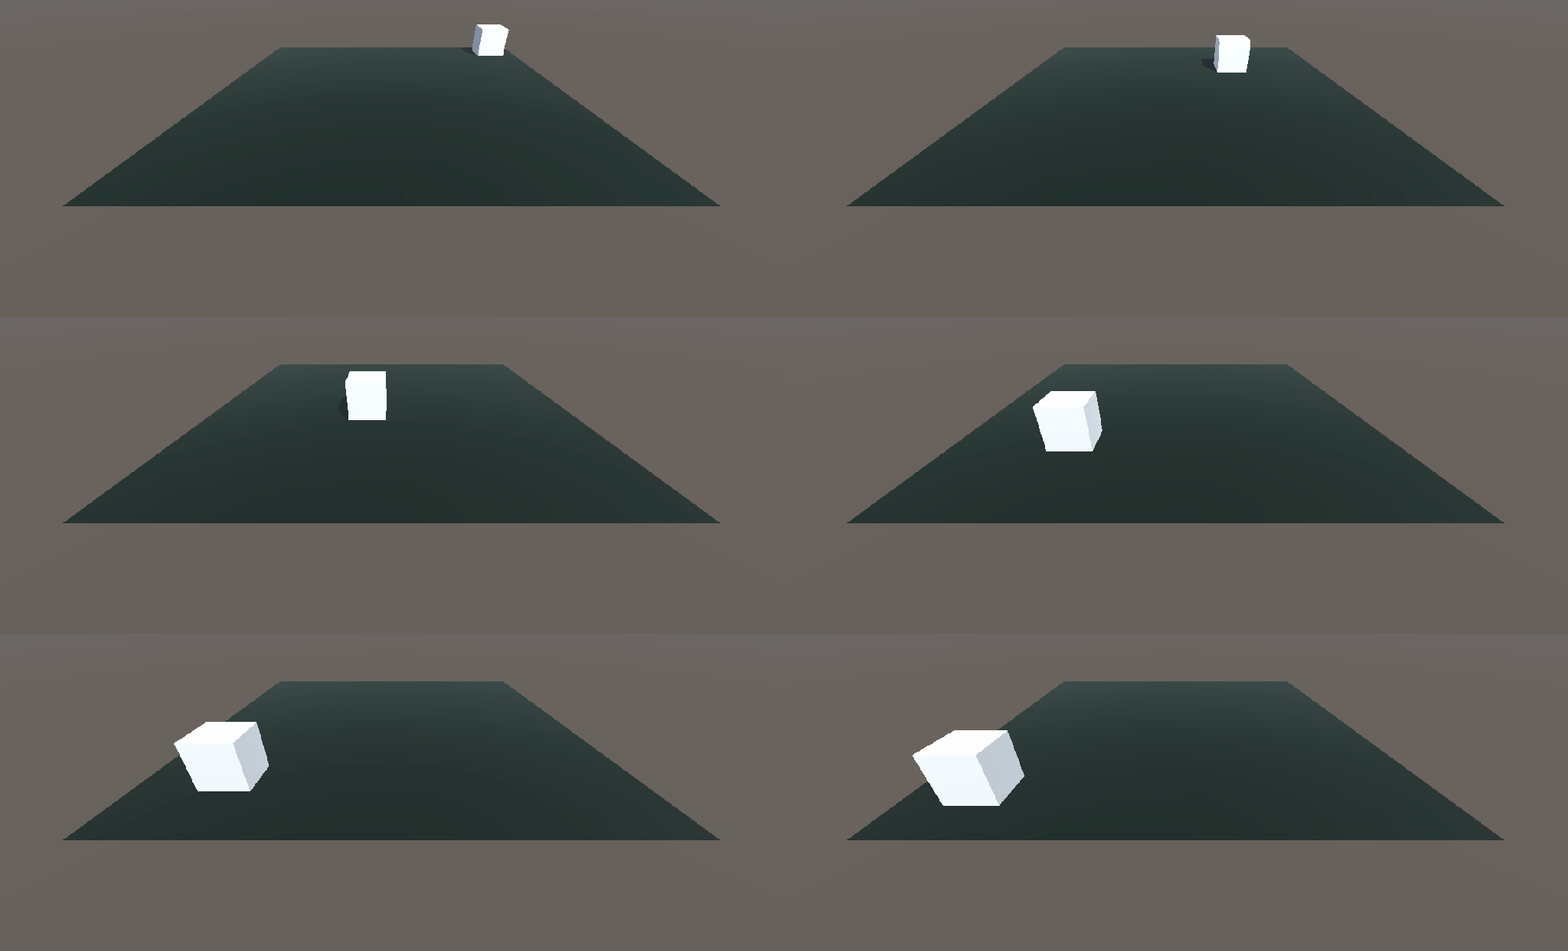
How to move an object in a direction
Direction is generally defined by a unit vector. If you want to move your object in the direction of another object, then you can subtract the position of both the object to get the direction. Then normalize it to get a unit vector.
The sample code below uses transform.forward to move the cube in the forward direction.
Always remember to multiple the direction vector with Time.deltaTime to move if gradually. You can also multiple the direction with a float to control the speed of the movement.
Sample code
using UnityEngine;
public class move_player : MonoBehaviour
{
    Vector3 newpos= new Vector3(-4.0f,0.5f,-4.0f);
    Vector3 velocity=Vector3.zero;
    // Update is called once per frame
    void Update()
    {
       transform.position+=transform.forward*Time.deltaTime;

    }
}
Output
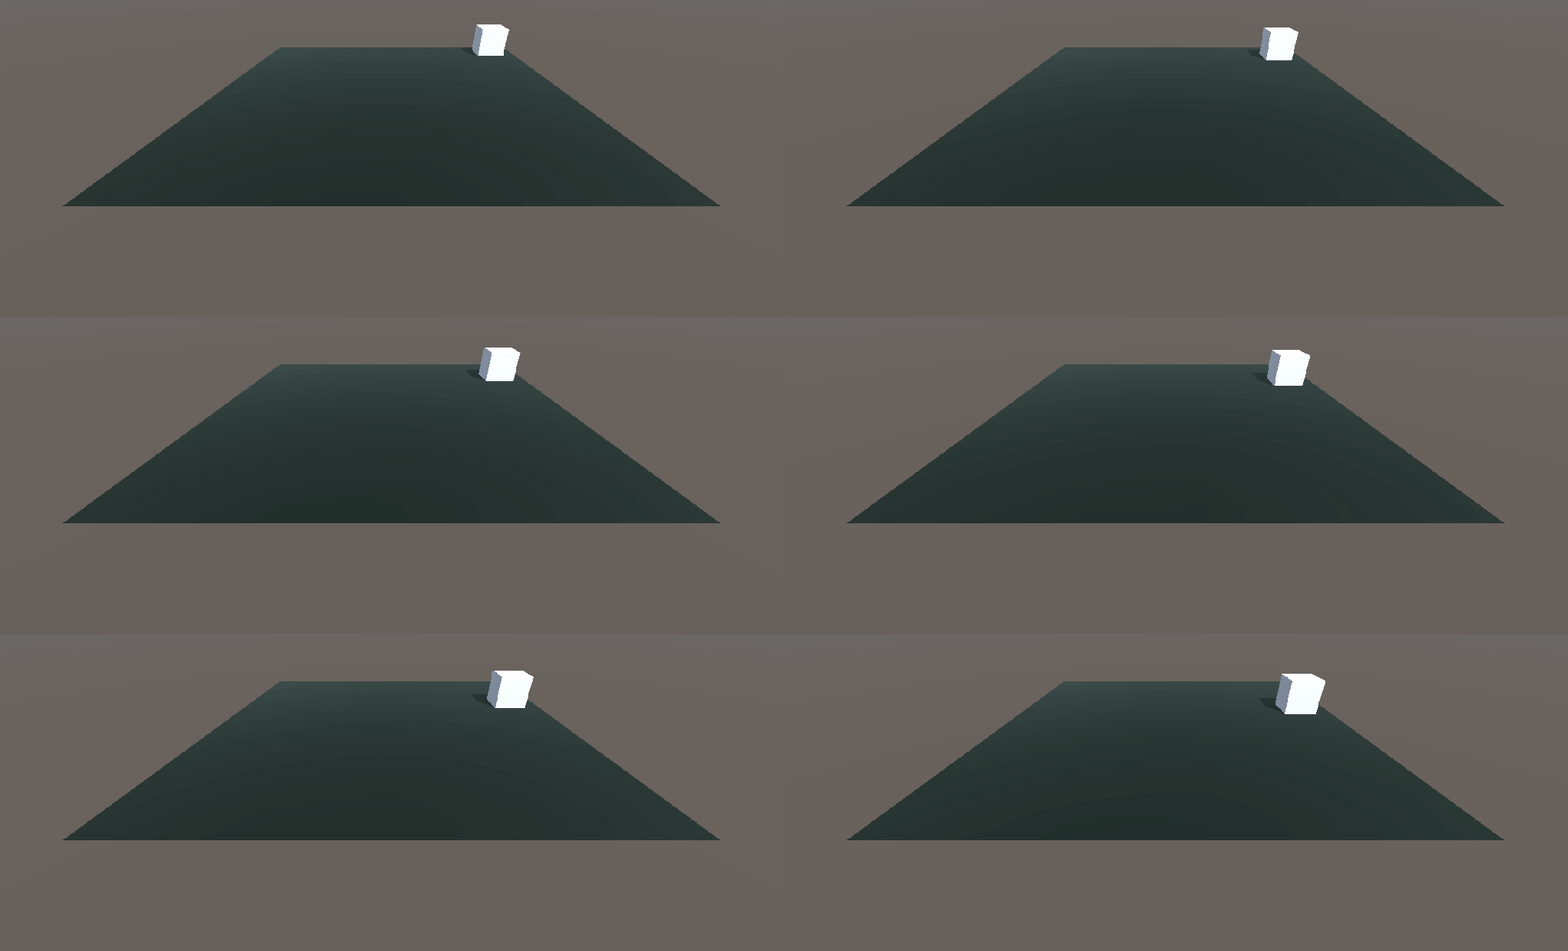
How to move an object with keyboard
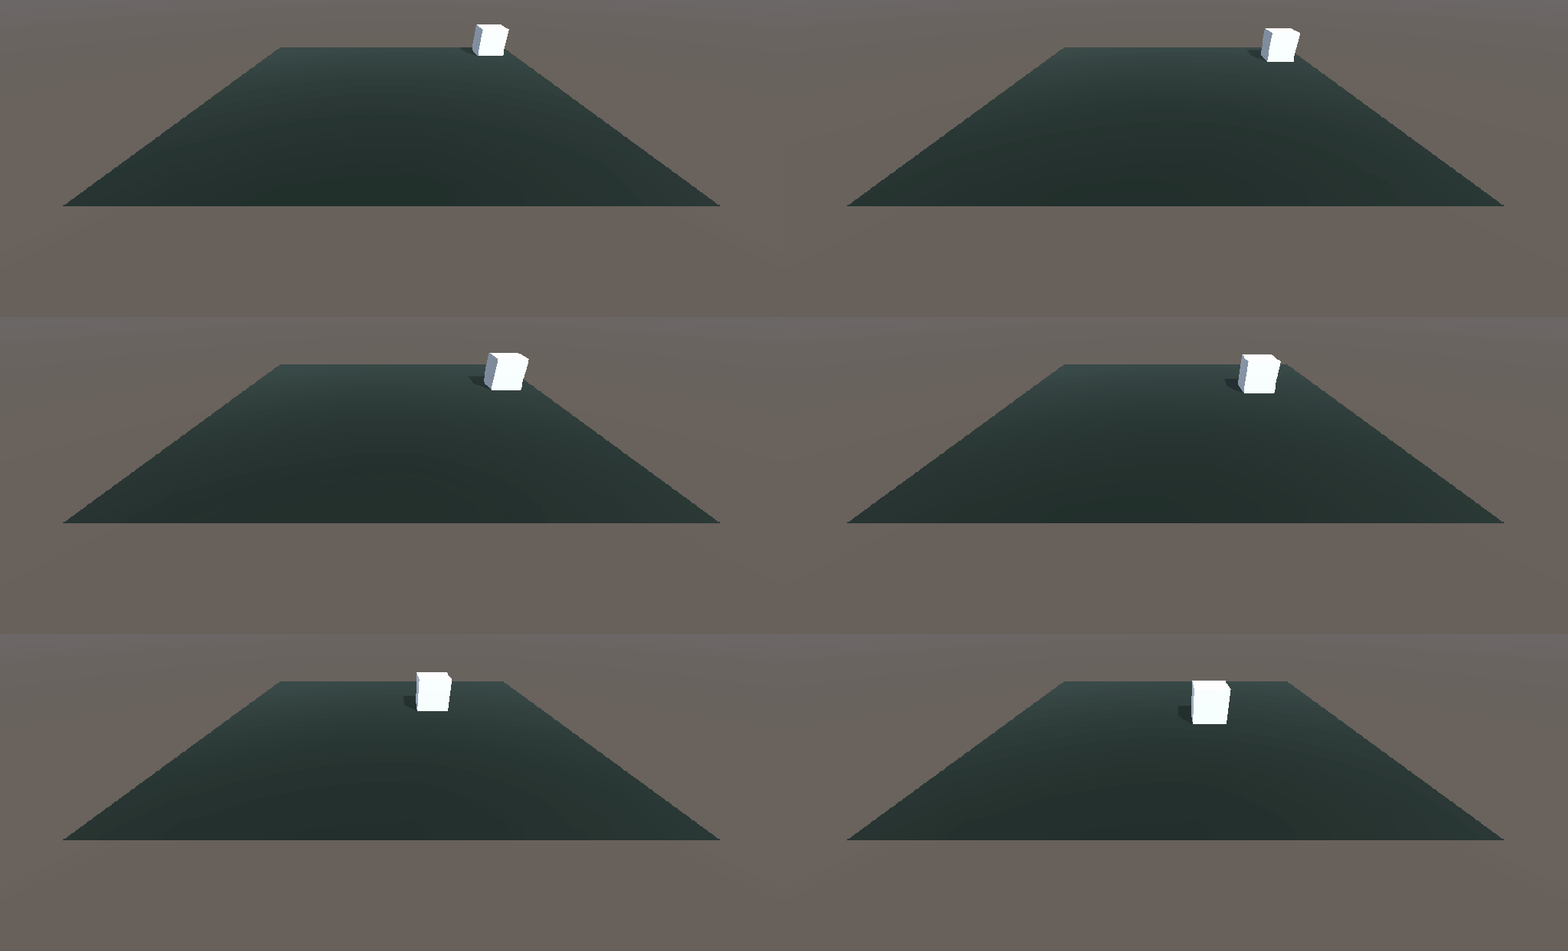
In the above examples, we knew the target position or target direction to move the player. But if you want to control the player movement using keyboard, you need to get the keyboard’s arrow keys using Input.Getaxis and then add the value to the transform of the object.
The Horizontal axis takes the left and right arrow inputs and the vertical axis takes the up and down arrow inputs.
Unity by default operates in the XZ plane so we will add the input to the x and z axis. In case of 2D, you can add the input to the X and Y axis. We are also using a speed variable to control the speed of player movement. You will need to do some trial and error until you get the right movement speed.
Just create a new script by name “move_player” and add the below line of code to it.
using UnityEngine;
public class move_player : MonoBehaviour
{
    Vector3 pos;
    float speed=5f;
    void Start()
    {
        pos=transform.position;
    }

    void Update()
    {
       float x_move=Input.GetAxis("Horizontal"); //left and right arrow inputs
       float z_move=Input.GetAxis("Vertical"); //up and down arrow inputs
       pos.x+=x_move*Time.deltaTime*speed;
       pos.z+=z_move*Time.deltaTime*speed;
       transform.position=pos;
    }
}
Output
How to move an object to mouse click position
This process is a little complex compared to the other movements. It involves the following three steps.
- Get mouse position.
- Covert mouse position to world space.
- Move your object to the position.
Sample code
using UnityEngine;
public class move_player : MonoBehaviour
{
    Vector3 mouse_world_pos;
    Vector3 mouse_pos;

    // Update is called once per frame
    void Update()
    {
        if(Input.GetMouseButton(0))  //on mouse button click
        {
            mouse_pos=Input.mousePosition;  //get mouse screen position
            mouse_pos.z=Camera.main.nearClipPlane;  //set the x value to camera FOV
            mouse_world_pos=Camera.main.ScreenToWorldPoint(mouse_pos);    //convert to world position
        }
        else
        {
            mouse_world_pos=transform.position;
        }
       transform.position=Vector3.MoveTowards(transform.position,mouse_world_pos,0.1f);

    }
}
If you want to move the object on a plane using mouse position then it’s better to use Unity Raycast to figure out the position on the plane and then move the object to that position. We will learn that in the upcoming articles. For the next lesson, we will learn how to find a game object in Unity.

